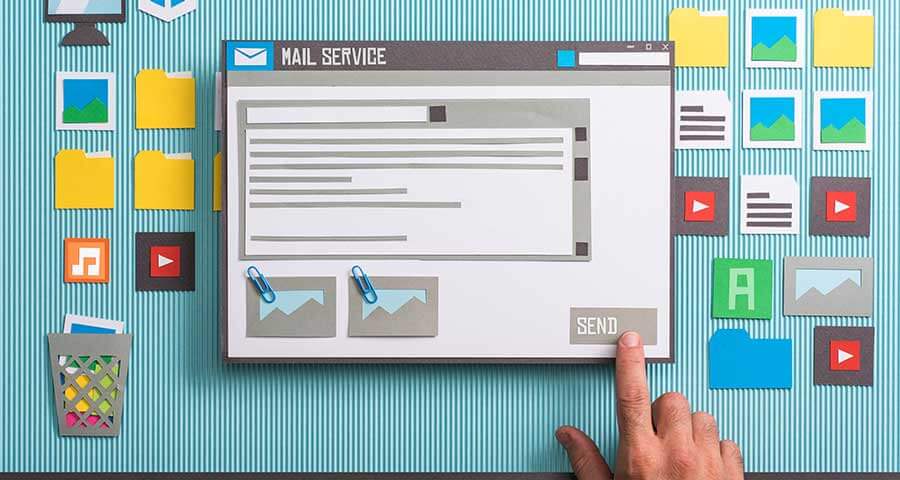
Building a brand around your home inspection business is an ongoing challenge. But when you tell people to email dealkillershis@gmail.com it hard for them to take you seriously. You need an email with your domain name.
For full setup & how to sync with your Gmail account. Please follow the video below.
I’m not saying you need to change how you check your mail. You can sync your inbox with Gmail and have your own inbox for your branded address.
In my opinion, having a custom email address with your own domain is one of the most overlooked steps in marketing your brand.
Get Your Domain First
Of course, if you are going to have a custom email, you will need your own domain.
Once you have a domain and are ready to set up an email address you just need to go to HostYak.com.
Create A Custom Email With Your Domain
The first thing that you are going to need to do is to get to the email page on HostYak.com. In order to do this, click on “Email” in the menu and then inside of the dropdown box, click on Workspace Email.
 1")
Now that you are here you will see the different options for email. For the most part, if you are just starting out, you only need to know about two of the options.
 2")
Personal Email Package
This is the package for the independent artist who handles everything themselves. You can get this package for about $22 per year. (this price includes the taxes and fees)
Even if you would like different addresses like info@dealkillershis.com and tracy@dealkillershis.com. You can create your email address as a “Catch All Account”.
What is a “Catch All” address?
A Catch-All account does just what it says. You technically setup only one address then everything that is sent to your domain, regardless of the actual address it is sent to, gets delivered to you.
So if you have tracy@dealkillershis.com and handle everything yourself you can have people email sales@dealkillershis.com & whatever@dealkillershis.com and they all will come to your inbox for tracy@dealkillershis.com.
Business Email Package
While you can still setup “catch-all” accounts, this is more for people with a team.
Being honest, I do own HostYak but the money I make off of email is almost not even worth making this blog post. I’m doing it because it will help you. So DO NOT SPEND THE MONEY on the business package if you don’t need it. You can always upgrade to this later.
The “Buy” Process To Checkout
Once you select the package you are going to use, by clicking on “Add To Cart”, you will be redirected to the summary page. This is where you can select the term length for your email. If you are doing this with your domain, I would select the term that you got on your domain. It keeps everything with the same “anniversary” when it comes to “Renewals”.
Click on the circle button next to the term length you want, then click Continue.
 3")
This will take you to the payment page. Once you fill out and complete your payment options click on “Complete Purchase”.
 4")
Now you have completed the purchase and are half way to having your own email account with your domain name.
 5")
Now you need to go to your account “My Products” page. Which you can get to by clicking on “Go To My Account”
***NOTE: It can take up to an hour for the account to be updated but I normally see it update within about 15-20 minutes most of the time.***
Setting Up A Custom Email Account With Your Domain
When you see the “Workspace Email” tab showing in your “My Products” page inside of HostYak, it’s time to move forward.
The next thing you will need to do is click on “Manage All -> ” within that tab.
 6")
From here you will end up on the email account overview page. This is where you are going to add your email address. Click on “Add Account” on the right-hand side of the overview table.
 7")
This is going to open up a pop-up window to enter your information and create your new email address.
The first field is for your desired “Email Address”. Remember that you need to have your own domain in order for this to work. Let’s make an email with your domain.
So enter what you want and move down to the password.
Your dog’s name IS NOT A GOOD PASSWORD. Be sure that this is secure! If you need help finding a good password you can check out our “Password Guide“. It has two amazing FREE tools that I found that will help you create a very secure password, along with some tips I’ve learned over the last 15 years in helping businesses market their business.
Enter your Password in both fields to confirm your new password.
If the “Additional Options” are not showing, open the window for them.
Inside of this section is where you can make this a catch-all account. You can also “forward” or send a copy of all emails to another email address. (This could be your Gmail account.)
Once you have all of the settings the way you want them, click on “Create”.
 8")
Congratulations! You now have your own e-mail address with your domain.
You can come back to the Email Options inside of your “My Products” at any time and check your email here. You can also get your server information so you can send/receive from another account. (GMail, Microsoft Office, Thunderbird, etc.)
That is how you create an email with your domain. I hope this has helped you. If you have any questions, feel free to comment below and I’ll do my best to help you.

