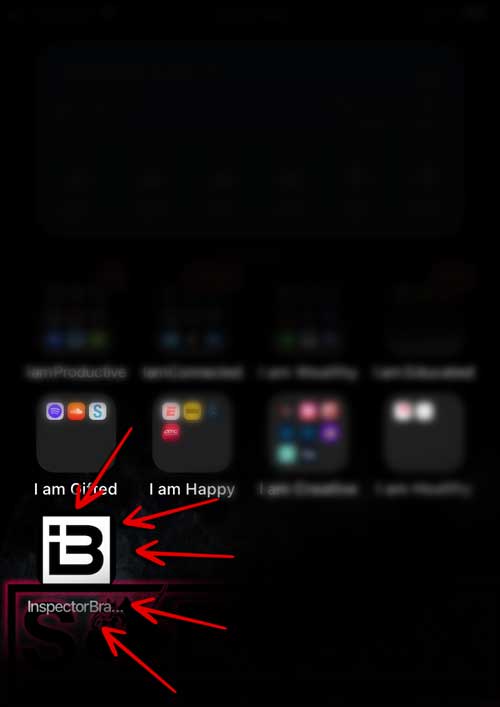
The “Website Icon” (or for the older crowd, the “Favicon”) is the small image that is normally on the left of the website title within the internet browser. This, in my opinion, is the first part of branding your website properly.
The integration of your home inspector logo into your website icon is one of the easiest steps but is also overlooked more than almost every other step in the process. In fact, in various case studies, marketing companies have found that not adding the favicon/website icon was among the top 25 most common mistakes with WordPress users.
When you think about your branding, as I said earlier, this is part of your brand’s identity online. It also helps with the user experience. When people have multiple tabs open inside of their browser, you don’t want to get lost in the mix.

While the placement of the website icon in the tab or window of the browser is important, smartphones evolved what use to be the “Favicon” into the “Website Icon” with the capability of saving websites on your “Home Screen”.
The reason this is important is that it not only helps with brand recognition, it also helps build trust with your clients/future clients.
When paired with a good content marketing campaign, you can have your clients/future clients save your website to their home screen as a shortcut to get the weekly “Home Owner Tips” or whatever it may be.
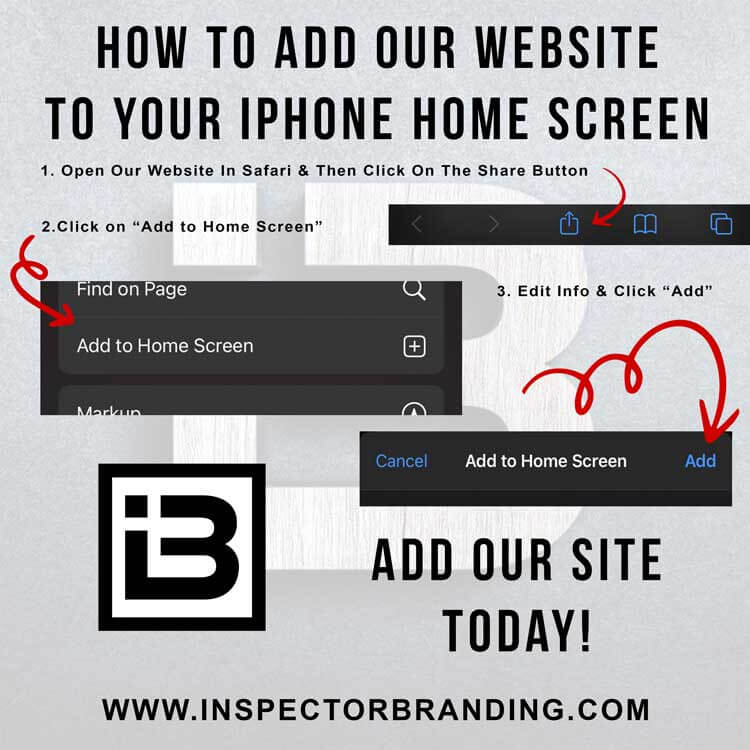
THIS PUTS YOUR LOGO AND BUSINESS NAME ON THEIR PHONE! You can walk them through it with an image like the one below. (Photoshop template is available to ALL CONTENT CLUB MEMBERS)


As you see above it’s not that hard and a good percentage of smartphone users are starting to take advantage of bookmarking features like this.
But how do we get there?
Well, the first thing you need to realize is the size of a “Favicon” or “Website Icon”. The image size needs to be EXACTLY 512×512 pixels. For the best results, it’s recommended that you use either .jpg (jpeg) or .png file formats.
If you are going to use a .png file with a transparent (see-through) background, you need to be sure it will look good against multiple colors & backgrounds. As you notice in the example images above, and in the browser tab/window, I decided to add a white background to my site icon. This makes sure it stands out regardless of the background brightness or color.
**************************************************************************
*****DO NOT FORGET TO MAKE SURE YOUR IMAGE IS OPTIMIZED!!!*****
**************************************************************************
How To Add Site Icon (Website Icon) Or Favicon In WordPress
Once you have your site icon file ready to upload, all you need to do is follow the FOUR SHORT & SIMPLE STEPS below.
- Make Sure You Are Logged In – WordPress login is done by visiting your domain with this added at the end /wp-admin for most sites. (It will look something like https://yourbrandsname.com/wp-admin)
- Go To Appearance -> Customize -> Site Identity – This will take you to the WordPress Customize Settings for your “Site Identity”. This is where you can change your “Site Title”, “Tagline”, “Logo” (depending on the theme you are using), and your “Site Icon”.
- Upload Your Optimized Site Icon -> When you upload your site icon image, DO NOT FORGET TO ADD ALT TEXT “Trusted Home Inspections Site Icon” or something like that.
- Save & Publish -> I’m going to repeat this a million times and it won’t be enough. Regardless of what you do, always remember to SAVE YOUR PROGRESS!
That is how you add your site icon with WordPress.
There are other ways to do this if you are using an older version of WordPress (4.2 or below). If you have an older version, you can view this WPbeginner tutorial for adding a favicon with code. But I would recommend that you update your website if this is the case.
If you have any questions, you can always comment below, shoot me a direct message on Instagram (@inspectorbranding), or use our “Contact Page“.
I hope this has been helpful!
Talk Soon
Be Great & Stay Boosted!
CJ

